Run Room Main Area Photo Tour - Page 1 of 4
This photo tour runs from North to South to Southwest in a clockwise direction. The photo numbers refer to the numbered arrows on the layout diagram.
1. Run Room rules dictate that "If there's
no place on the layout for an item, it must go."
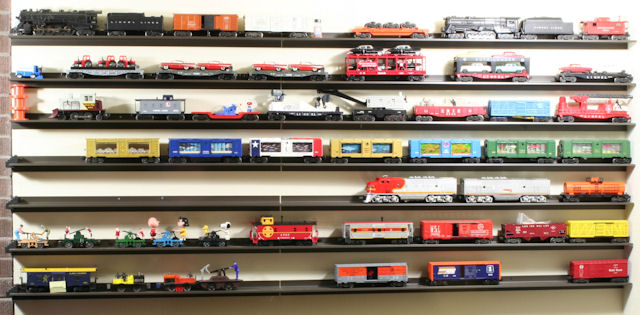
This area is the exception. The Lionel trains on the top shelf were
Daddy's that Santa brought to all of us.
Top Shelf - 736 engine and tender, X3464 Operating Car, 3472 Milk Car,
671 engine and tender
The other shelves contain items still under consideration.
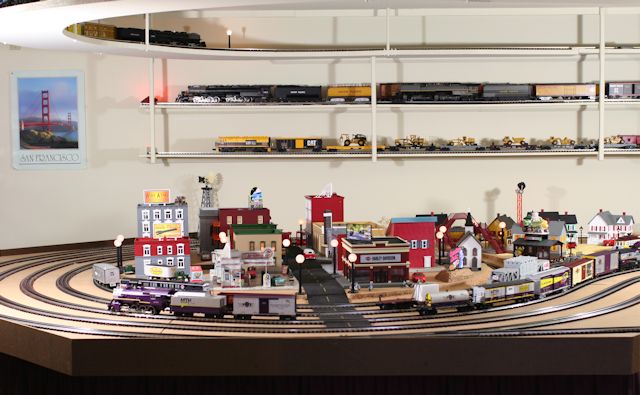
2. Downtown area is elevated to ease
wiring over access hole.
Click here to see elevated
city and suburb close-ups and construction.
3. This single track Lift Bridge allows big trains to run through the Trackside Industries.
4. and 5.
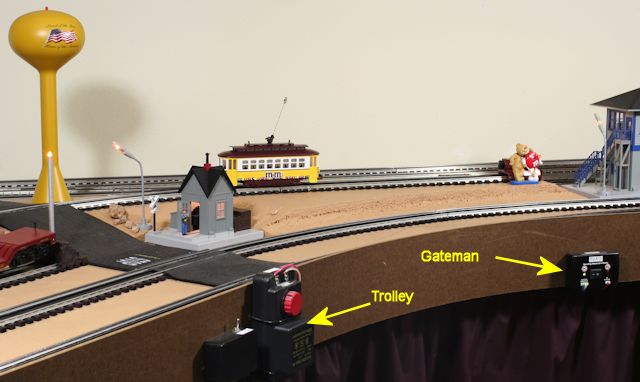
MTH Operating Watchman Shanty (Gateman) with local controller and
M&Ms Trolley Stop
See Station
and Trolley here. The Operating Watchman's Shanty controller is
shown below Trolley Stop. All the accessory controls in the Run Room
are accessible to kids of all ages.

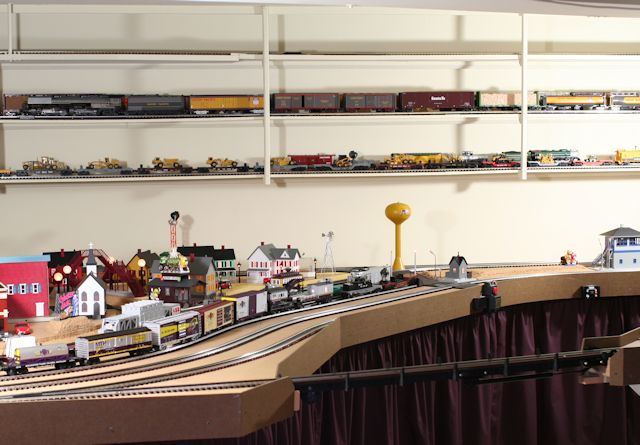
6. MTH Switch Tower, Water Spout, and Station
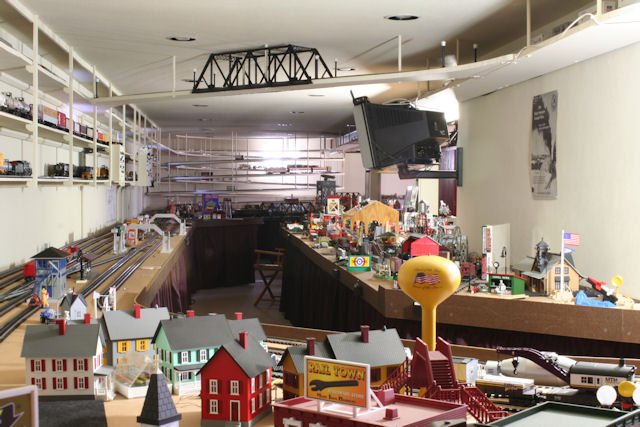
7. Run Room looking from North end to South end
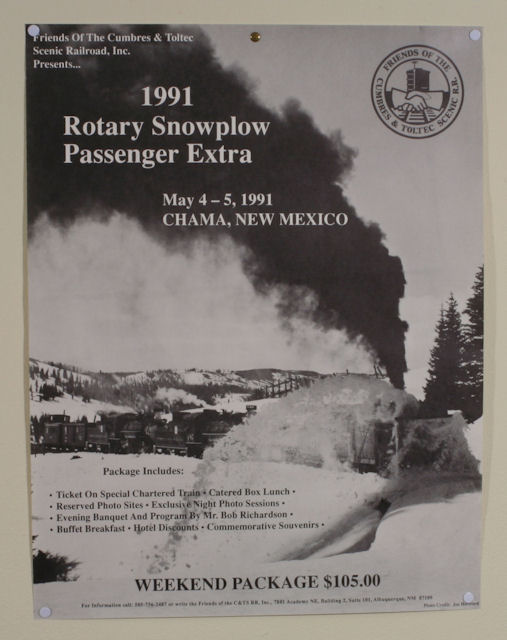
8. We walked, "chasing" the Rotary on that Saturday.
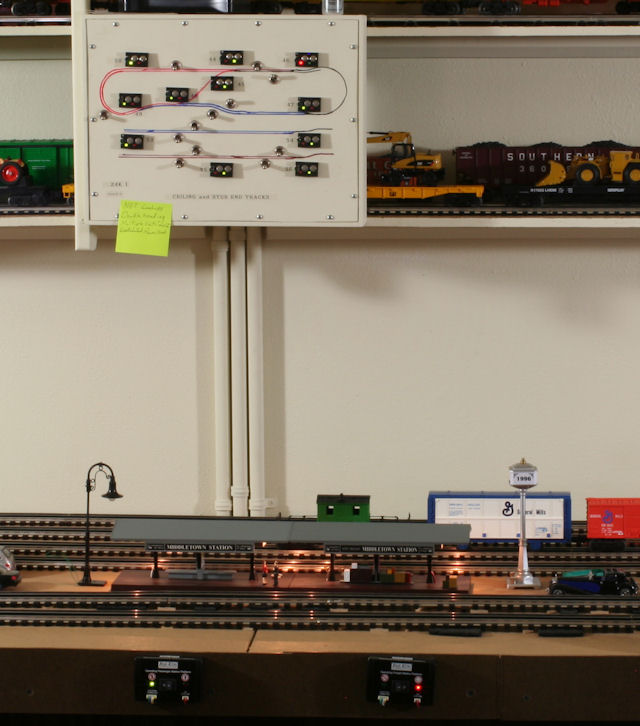
9. Ceiling Panel and MTH Operating Station Platforms

10. MTH Operating Station Platforms with Controls and Lionel Pedestrian Walkover with Scale Speed Sensor